


As I mentioned previously, co-blogger Rebecca gave me a Lodge Pro Logic Cast-Iron 14-Inch Pizza Pan for Hanukkah/Christmas/Solstice/Kwanzaa/New Year 2010. My goal this year is to post once a month about my experience making a pizza from scratch. After my wonderful experience last year with The Ultimate Chocolate Cookie Book: From Chocolate Melties to Whoopie Pies, Chocolate Biscotti to Black and Whites, with Dozens of Chocolate Chip Cookies and Hundreds More by Bruce Weinstein and Mark Scarbrough, I purchased their book Pizza: Grill It, Bake It, Love It! to help me on this journey. I'm starting with the classic Pizza Margherita.
Pizza: Grill It, Bake It, Love It! by Bruce Weinstein and Mark Scarbrough goes into intricate detail on how to make pizza using fresh dough or prebaked crust, in an oven or on a grill, with a pizza stone or on a pizza pan, and every permutation thereof. This is awesome. Over the next 11 months I plan to explore most, if not all, of those permutations. In my blog posts I'll only include the instructions for the crust and cooking method that I actually used. But please know that the book contains a lot more information, so if you want to know more about how to make the pizzas I make here a different way, please check out the book. Like the old Ragu commercial said, "It's in there."
My inaugural pizza was a success. The cheese--fresh mozzarella from The Cheese Cave--was melty and stretchy and delicious. The crust was crisp. I was a little bummed that I didn't get a more doughy edge, but I think that was because I made the whole crust the same depth. I might try to bulk up the edge next time. The sauce was deliciously sweet even with the addition of the optional 1/2 t red pepper flakes. The only change I'd make in my future Pizza Margheritas is my choice of dry spice. I went with 1/2 t freshly ground black pepper from Penzeys Spices. It was great, but a little too hot for my taste. I'll try 1/4 t freshly ground black pepper and 1/4 t Penzeys granulated garlic powder on my next one.
N.B., the dough takes 1 1/2 hours to rise, so plan ahead so you don't end up ordering out for pizza while you wait for your dough to rise. Instead, make your sauce while the dough rises. The sauce has to simmer for about 30 minutes and cool for another 10, so that should kill some time while you wait for your dough to rise. Of course, you'll only have to make the sauce once because it yields enough for about four pies. You can freeze the remainder in 3/4 C portions--which is the recommended amount for a Pizza Margherita--for up to 3 months.
Pizza Margherita adapted from Pizza: Grill It, Bake It, Love It! by Bruce Weinstein and Mark Scarbrough
Ingredients
Procedure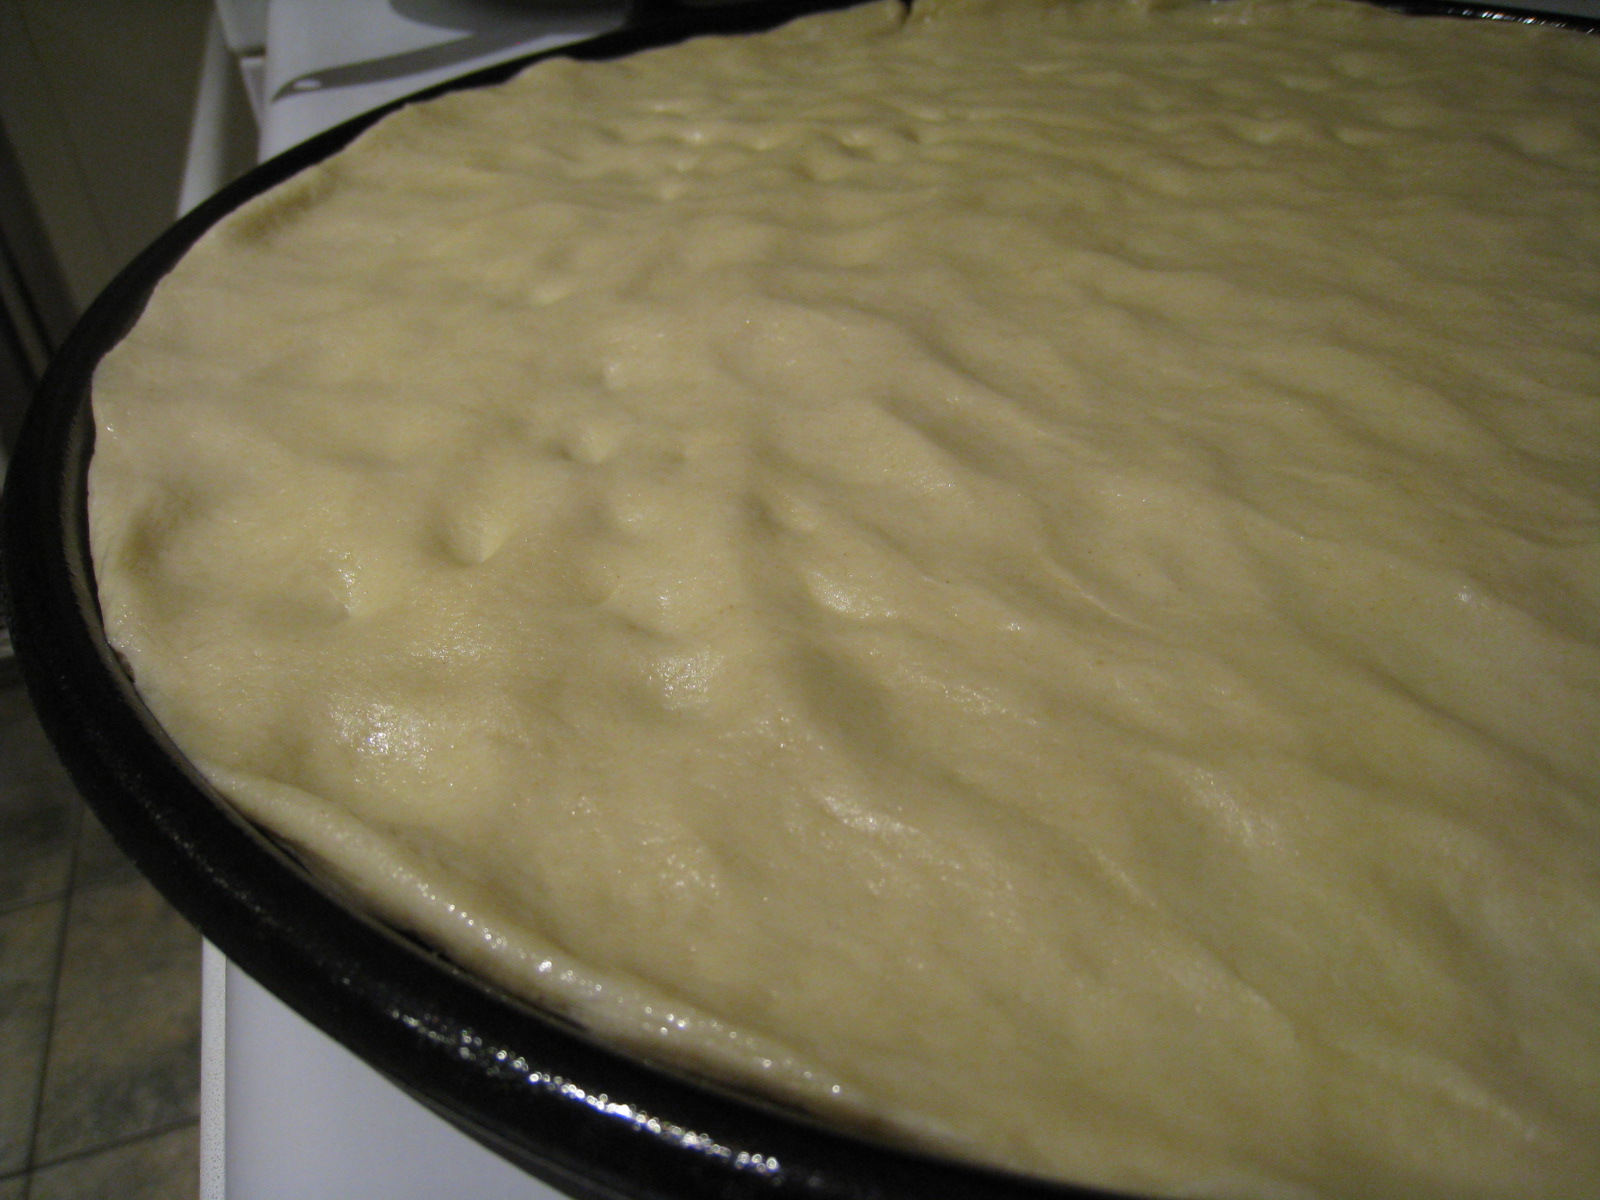
Classic Pizza Dough adapted from Pizza: Grill It, Bake It, Love It! by Bruce Weinstein and Mark Scarbrough
Ingredients
Procedure I find yeast kind of amazing. You'd think after my recent explorations with lactic acid bacteria, that using microorganisms in cooking wouldn't rock my world. And yet, it does. The above photo was taken after allowing the yeast to do its thing in lukewarm water with salt and sugar for five minutes. It doesn't look "bubbly" to me. Maybe foamy. When I took the spatula out I could see the foam adhere to it, which was reassuring, even though I bought fresh yeast just for this dough.
 After adding both flours and mixing with the dough hook for well over two minutes, this confetti like substance is what I had. Maybe my unprofessional flour scooping resulted in too much flour. Or in Southern California the flour is drier. Either way, I ended up adding 1 T plus 1 t lukewarm water before it all came together.
 Here's the dough post-kneading and pre-rising. I always get annoyed by instructions to allow the dough to rise until it has doubled in volume. I just cannot eyeball that sort of thing. Is there some sort of special bowl you could make with some sort of markings that would indicate a doubling of volume?
 Of course, I can't follow directions to let the dough rise for an hour and a half. I forgot about it for two and a half hours. What are the repercussions of allowed dough to rise excessively? And due to my busy-mom cooking schedule the dough was all risen a good two hours before I was ready to make my pizza. I just popped the dough in the refrigerator to slow the rising process . . . like with yogurt, right?
Classic Pizza Sauce adapted from Pizza: Grill It, Bake It, Love It! by Bruce Weinstein and Mark Scarbrough
Ingredients
Procedure
still standing
3 years ago
4 comments:
Looks delicious! How did the cast iron pan work? I have a pizza stone, but I find it fiddly to use.
We just went to a local pizza place and had a spicy squash white pizza that was yummy and I recommend that as a future pizza option for you. I think it was just sliced yellow squash and red pepper flakes on top of a white pizza.
It was delicious.
I don't really have a point of comparison, but I think the cast iron pan worked well. It is heavy as all get out. But it was easy to oil, press the dough to the edge, and get into and out of the oven. I was a little worried for my cooling racks under all that weight, but they did just fine. The crust was super crunchy and evenly cooked, which I think is supposed to be one of the big selling points of the cast iron pan. No burnt areas at all. I have to wrap my brain around a pan you're not supposed to wash with soap and water.
Tell me more about this spicy squash white pizza. What do you mean by "white pizza"? Was there a garlic and olive oil sauce or a cream-based sauce? Yellow squash like summer squash or butternut squash? I am intrigued.
Well, yum. It looks divine. Yes, to get a thicker edge, you'll need to pull the crust up. And I suppose you're running into a difference in taste here--because Bruce and I both prefer really thin crusts. Or you could try to make 1 1/2 times the recipe and have much more dough to play with.
I do love cast iron. We have a whole collection for everything--and use it specifically to make steaks indoors in the winter. We can heat it up to smelting levels and then drop the steak in the pan to get a good crust on it before we shove the whole contraption in the oven. (Fancy chef talk there.)
That said, we've never tried the cast-iron pizza pan. Must go shopping. Now.
The pizza we had was yellow summer squash and red pepper flakes and basil and mozzarella cheese and goat cheese. I'm not sure if there was some other kind of sauce on there, but if there was it was pretty minimal.
I think a pizza with butternut squash sounds pretty good also, maybe with some kale and garlic...
I'm going to have to get on this pizza making thing too :)
Post a Comment