Inspired by Yashar Ali's reporting on unclaimed property, I decided my summer project would be to search for any unclaimed property in my name in all 50 states. As Yashar Ali said, "Every state allows you to search and claim unclaimed property for free. Please don't ever use any of these scam companies...you don't need them."
At first I thought I would blog about the experience just for fun. But when I started with Georgia, the state where I spent the majority of my years, I discovered that my mother- and father-in-law have a number of unclaimed property search results. I am writing these step by step instructions so they, and you, can find any unclaimed property in Georgia.
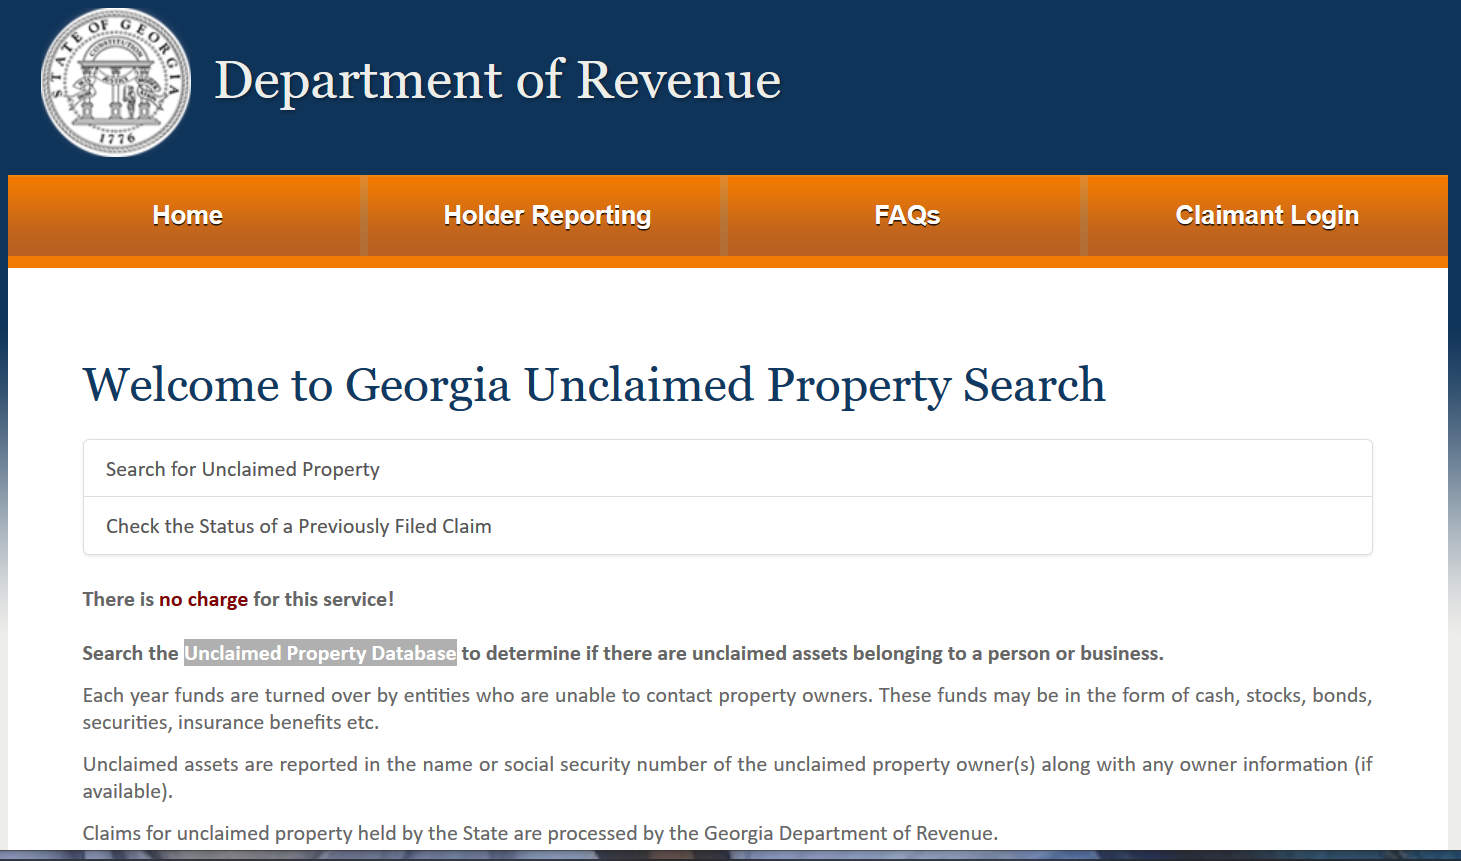
Step 1: Go to https://gaclaims.unclaimedproperty.com
This is the official website of the Georgia Department of Revenue's Unclaimed Property Database.
Step 2: Click on Seach for Unclaimed Property
Step 3: Enter your last name
Step 4: If you see a reCaptcha box, check "I am not a robot" before you click on the Search Properties button.
Step 5: Scroll down to see the search results. There are 10 per page. When you find a search result that matches your name, click on the Add button next to that property to add it to your cart.
Step 6: Once you have added all fo the properties that match your name, click on the button that says, "Claim Properties in My Cart."
Step 7: You have to register before you can claim any of the properties in your cart, but your first opportunity to register is not until you are at the Claims Cart. Click on the Register Button.
Step 8: The registration form asks for the standard information. Make sure you scroll down as many screens will cut off the end of the form.
At the bottom of the form, you will have to create a username and password. Passwords must be between 8 and 26 characters and contain at least one
number, uppercase letter and special character (e.g. $,\&.#!).
When you have provided all of the information, click on the Save Registration button.
Step 9: This will take you to the following screen.
Check your email for an email from GA Unclaimed Property <donotreply@unclaimedproperty.com>.
Step 10: Click on the Confirm Account link in the email.
Step 11: This will take you to the Claimant Email Verification Screen. Click on the Return to Claimant Login link.
Step 12: If it is not prepopulated with your username and password, enter them here. Then, click on the Log in button.
Step 13: Click on the Claim Properties in My Cart button.
Step 14: This will take you back to your Claims Cart. If you scroll down, you will see the data you entered to register. There will be additional blanks for information necessary to proceed with the claim including your social security number.
Enter your social security number. Check that the rest of the information is correct. Then scroll to the bottom.
Check the box indicating acceptance of the indemnification clause. Then click on Create Claim button.
This is as far as I can walk you through because I, shockingly, did not have any unclaimed property in Georgia. If you do, please screenshot your steps after this and email them to me (redacting personal identifying data, of course), so I can complete this step by step tutorial.